Streaming Events from Redpanda Cloud into Imply Polaris
Redpanda offers a data streaming platform with a Kafka compatible API. There are a variety of deployment options - you can run Redpanda on premise or in a hybrid cloud mode, but here I am going to look at Redpanda’s fully managed cloud service. I want to connect this to Imply’s Polaris database-as-a-service, which offers fast, near realtime analytics based on Apache Druid.
Polaris has recently upgraded with connectivity to multiple streaming services. This includes Kafka with SCRAM authentication, which is one way how Redpanda implements security. Today I am going to show how to build a realtime analytics pipeline using only fully managed cloud services: Redpanda Cloud and Imply Polaris.
In this tutorial, you will learn how to create a connection to a dedicated Redpanda cluster and to populate a Polaris table with realtime data using the Polaris API, allowing for automated scripting and zero touch configuration.
As prerequisites, you will need:
- a Redpanda cloud account (a 15 day free trial is available)
- an Imply Polaris account (you can sign up for a 30 day trial).
Setting up Redpanda
Create a cluster
I am assuming that you have a Redpanda Cloud account created.
In Redpanda Cloud, a cluster exists in a namespace, and you can have multiple namespaces inside an organization. Create a namespace, and in that namespace create a cluster according to the documentation. The smallest cluster option is sufficient for this experiment.
I created a cluster in AWS, single region and single AZ. I am not using VPC peering - make sure your cluster is connected to the public Internet. While VPC peering between Redpanda Cloud and Imply Polaris is possible, that is a story for another blog.
Redpanda will suggest a unique (3-word) cluster name, but you can of course pick your own.
Create a topic
Creating a topic is straightforward in Redpanda:
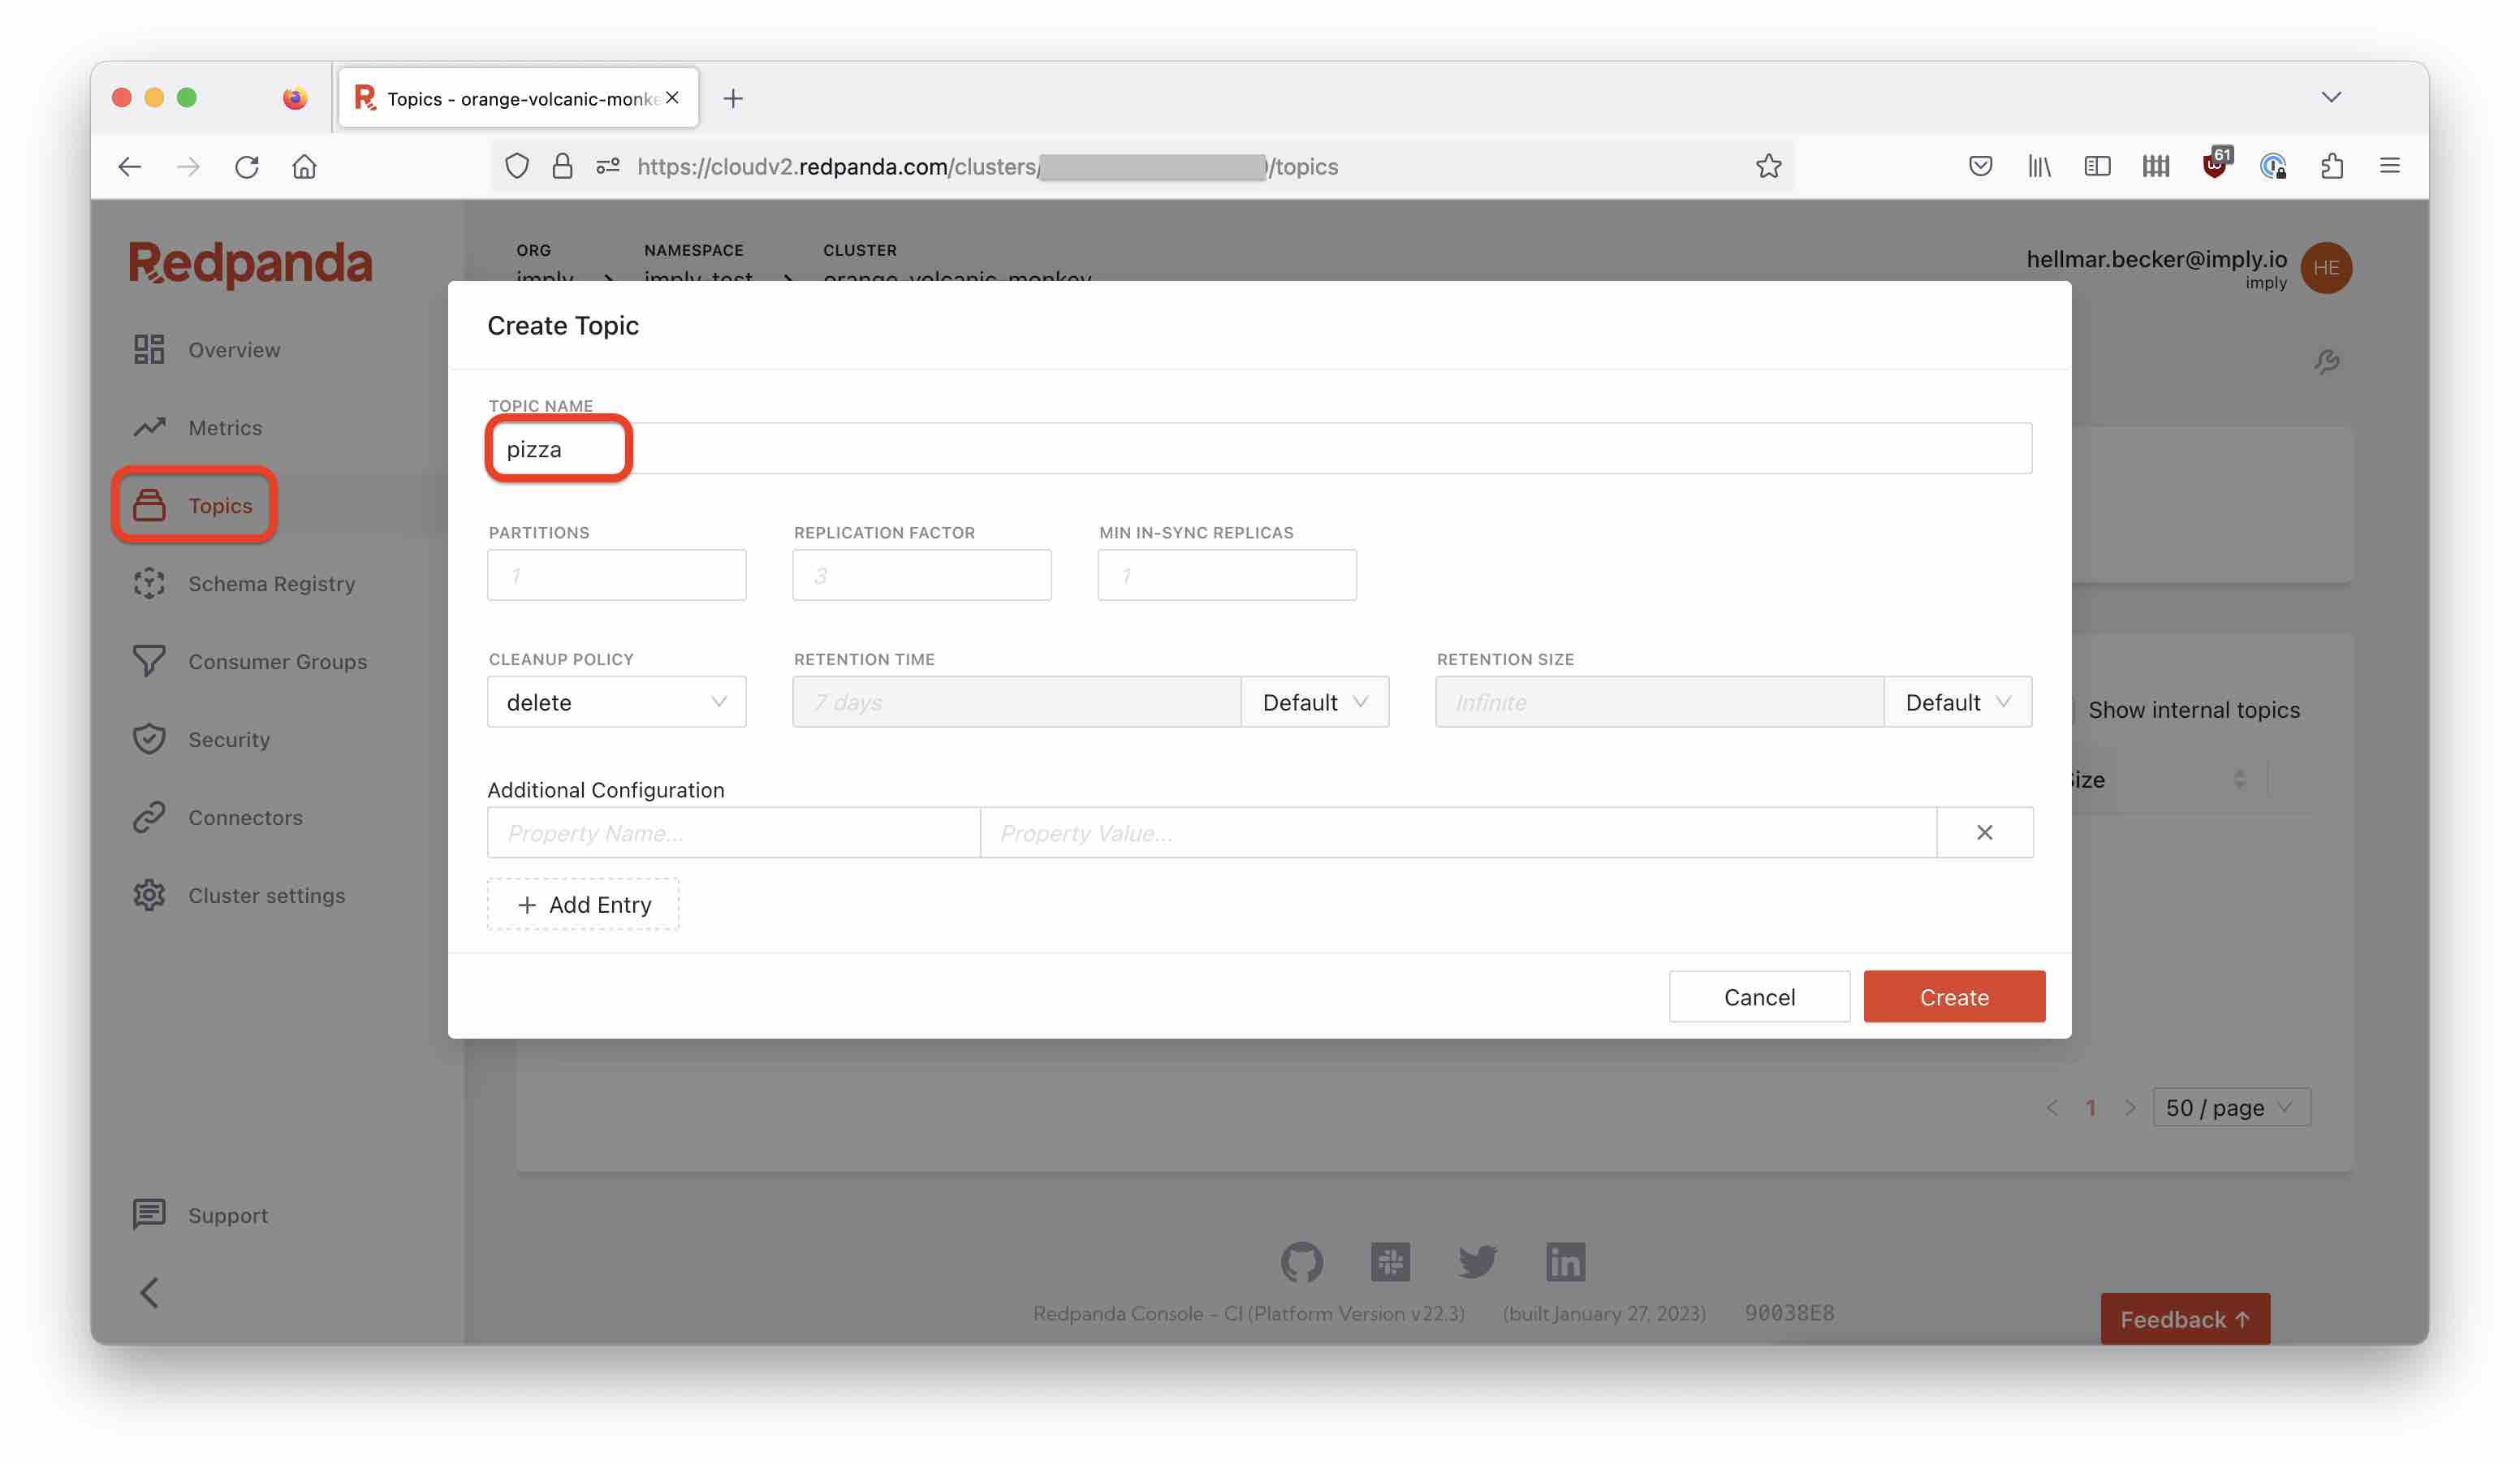
Create a topic named pizza, and leave all settings at the defaults.
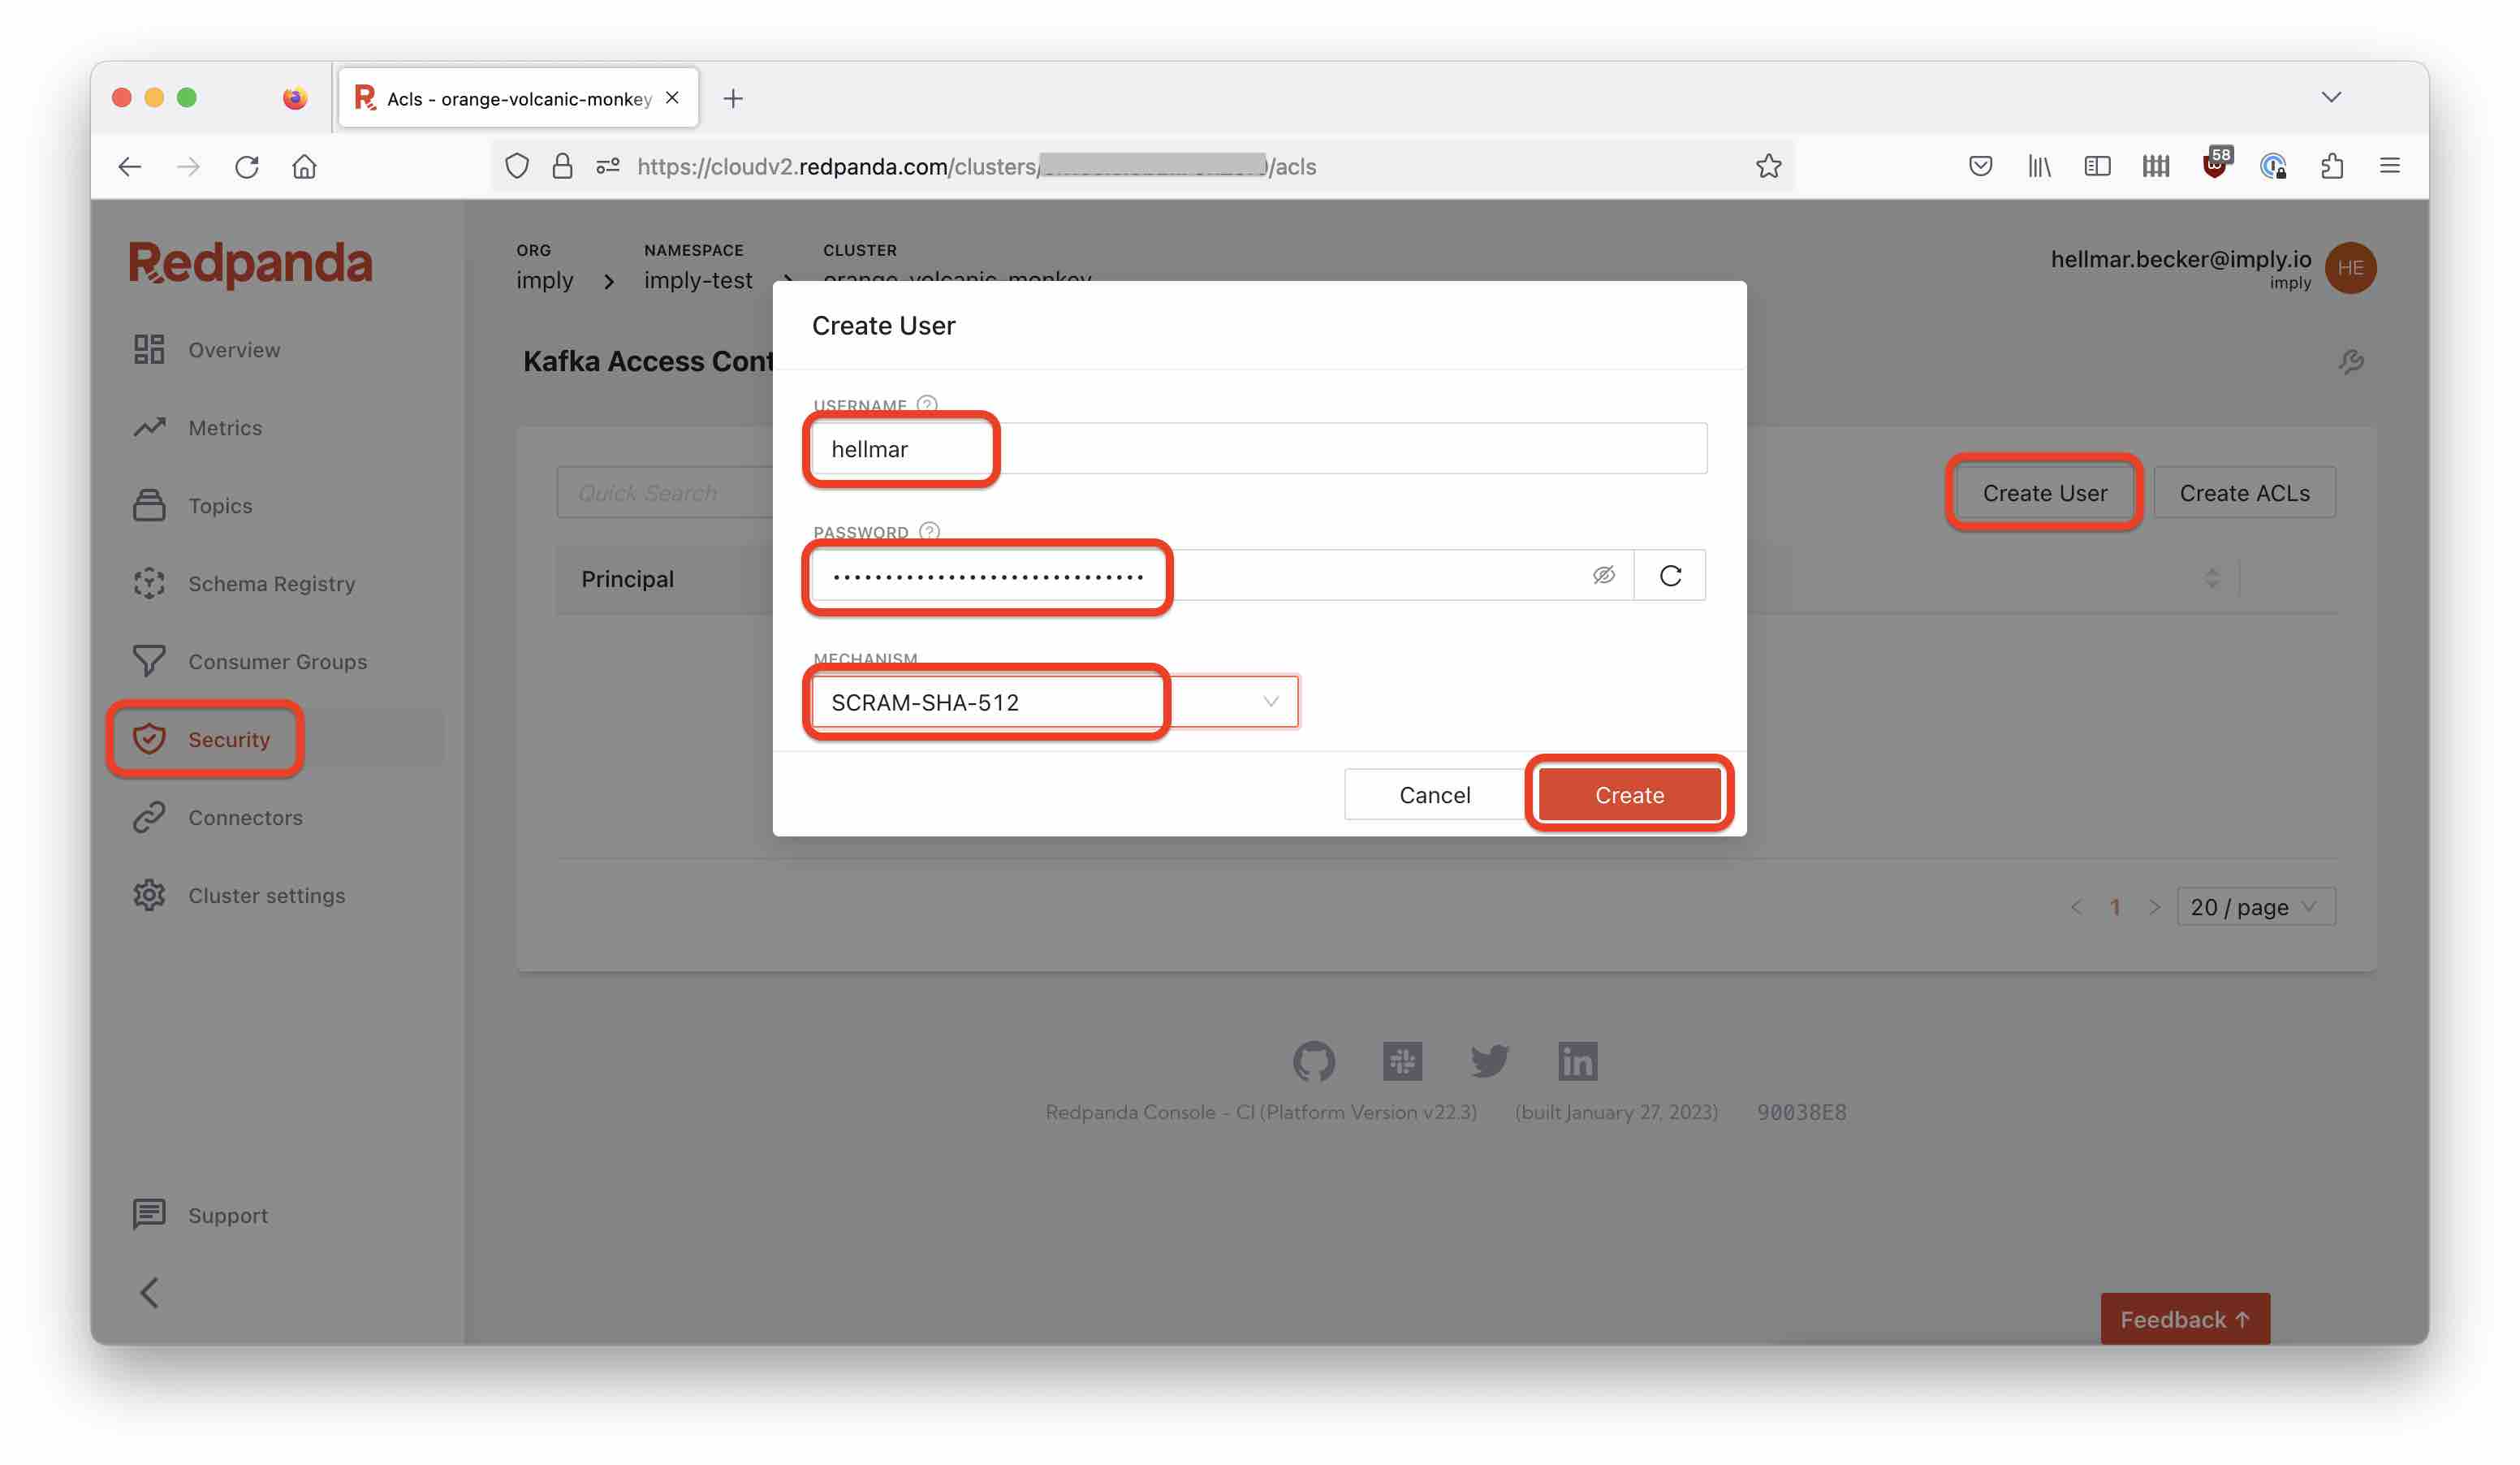
Create a user and password
In Redpanda Cloud, go to the Security tab and create a new (data plane) user. You can enter your own password or use the autogenerated one. Make sure to copy the password because you will need it later. Set the security protocol to SCRAM-SHA-512.
Set up ACLs
You have to set up ACLs to grant access rights. Click the name of the user you just created, and in the popup click Allow all operations:
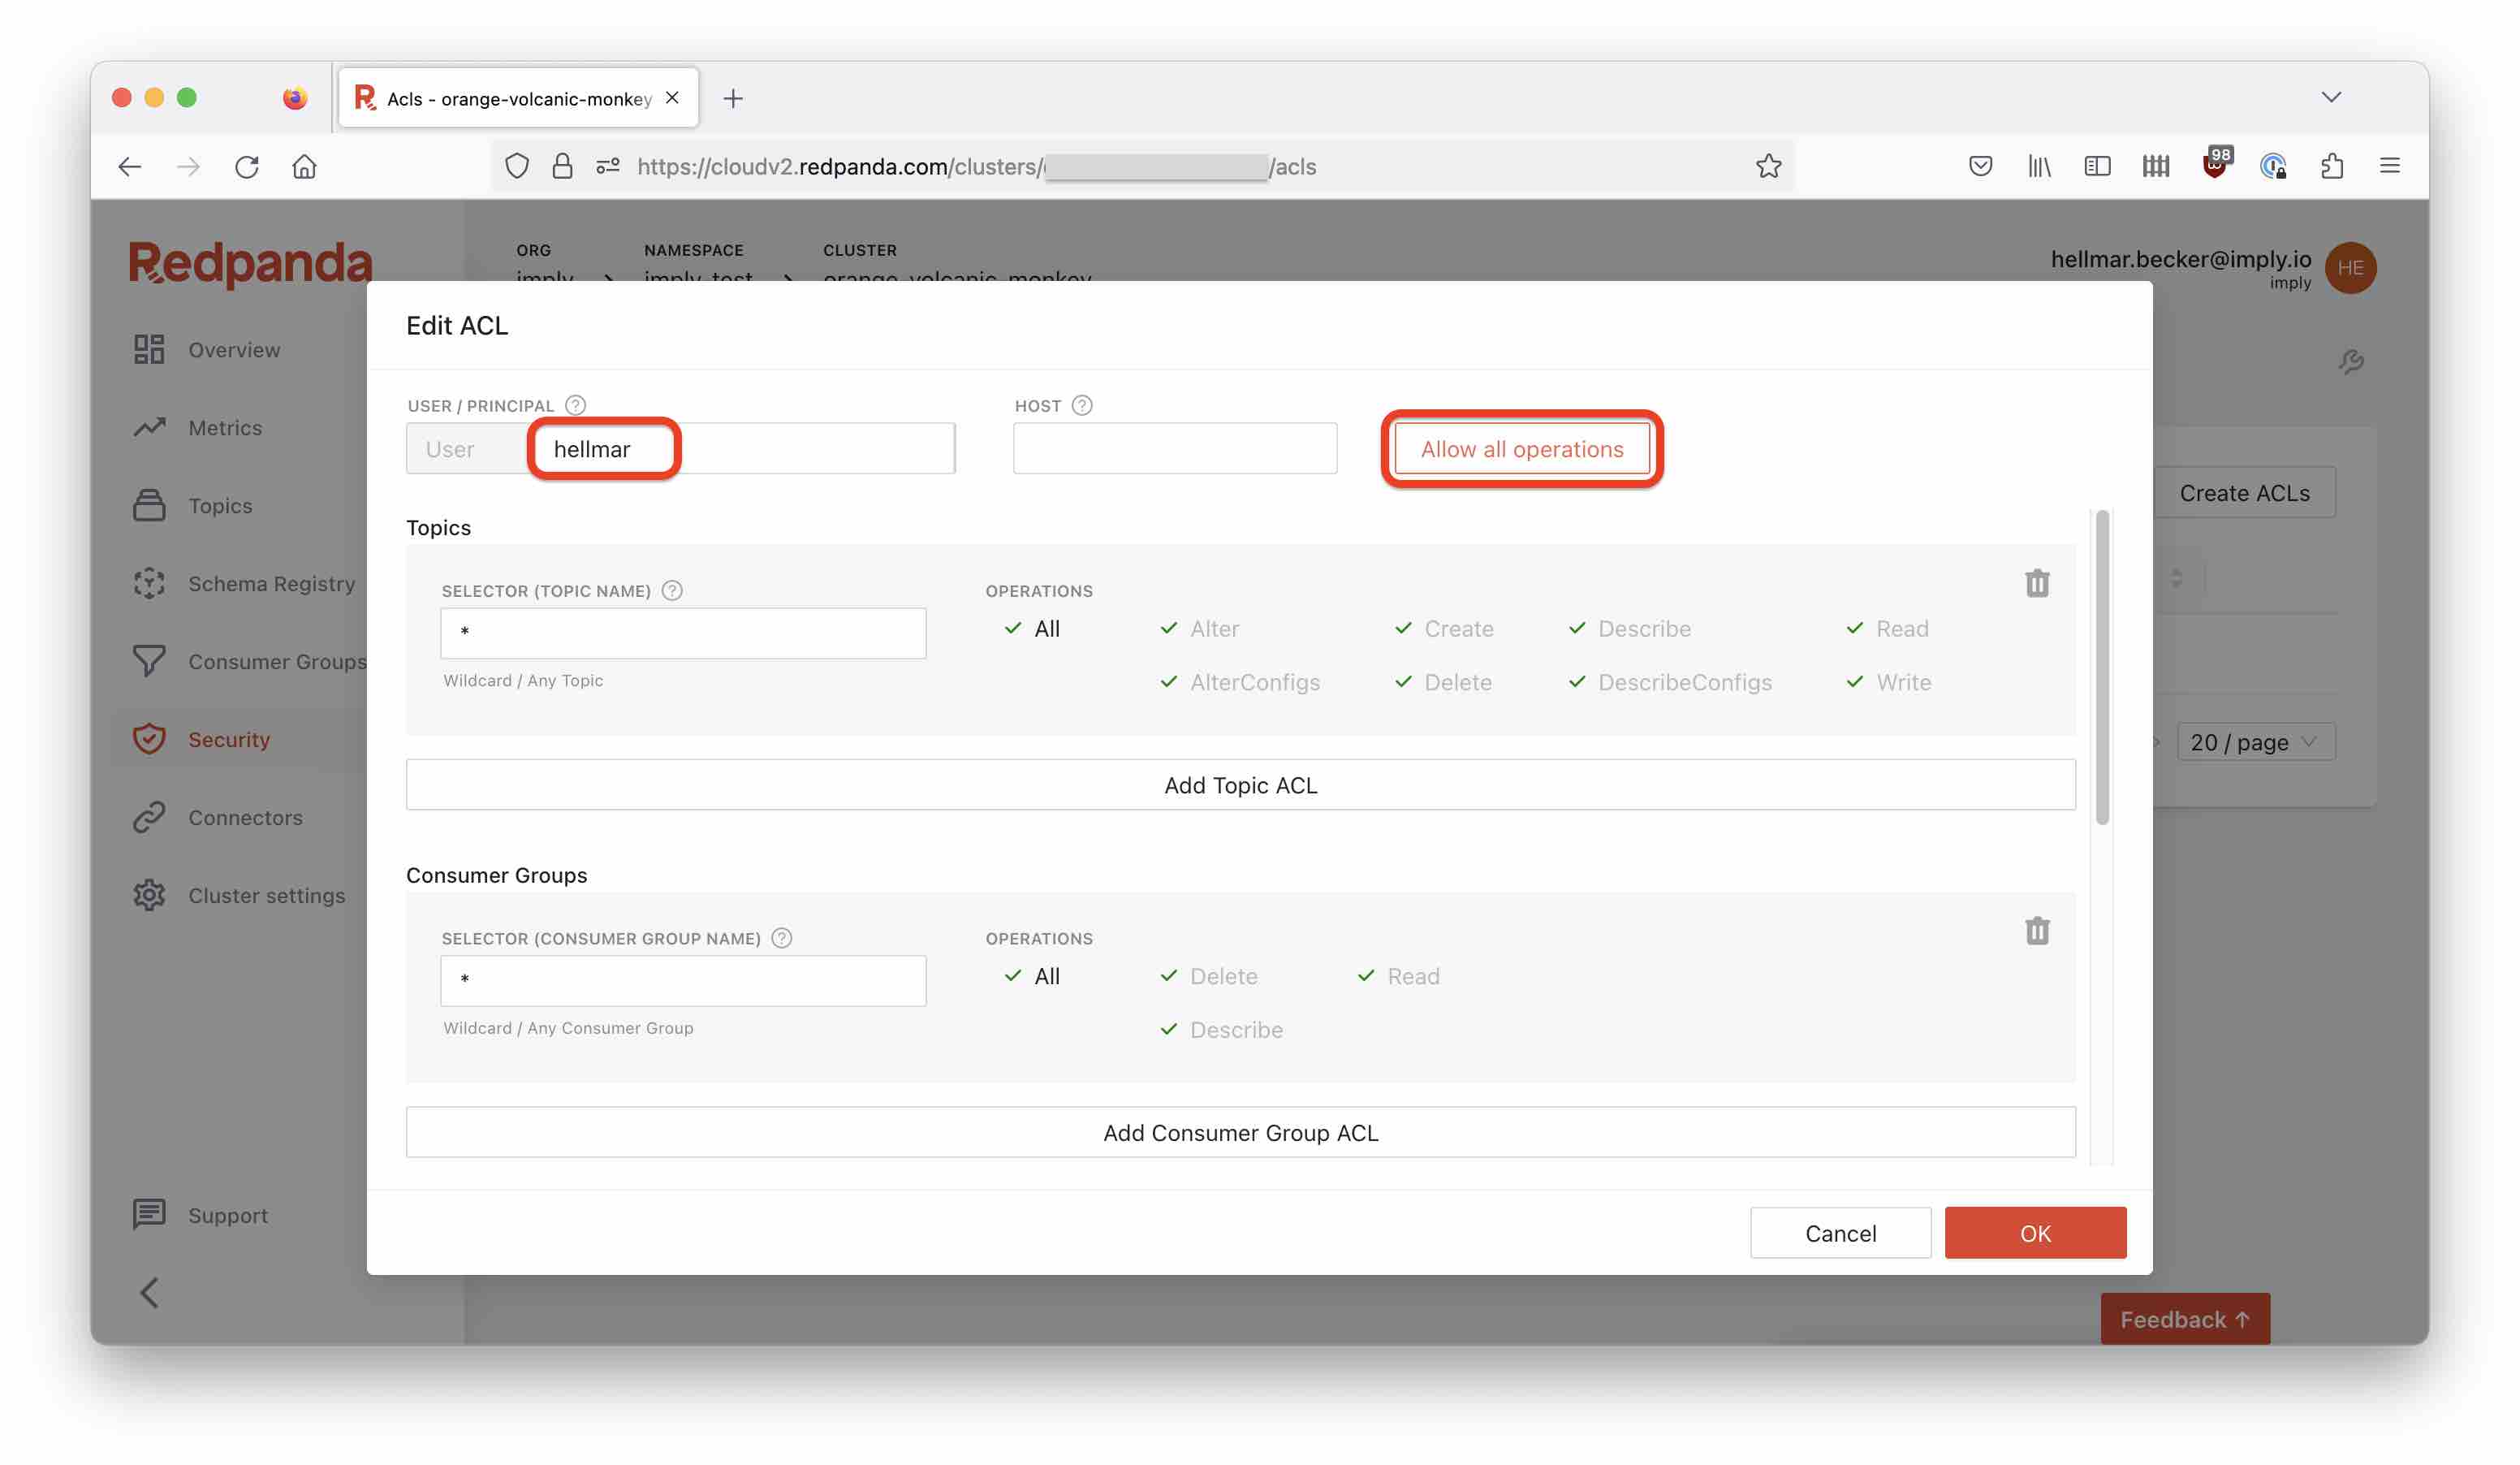
This gives my user full access rights. In a production setup, you would not do that: you would restrict that user’s access rights to a topic or group of topics.
Populate the Redpanda Topic
Once more, I am using Francesco’s pizza simulator. I have described that in a previous blog.
Find the bootstrap server from the Redpanda overview page:
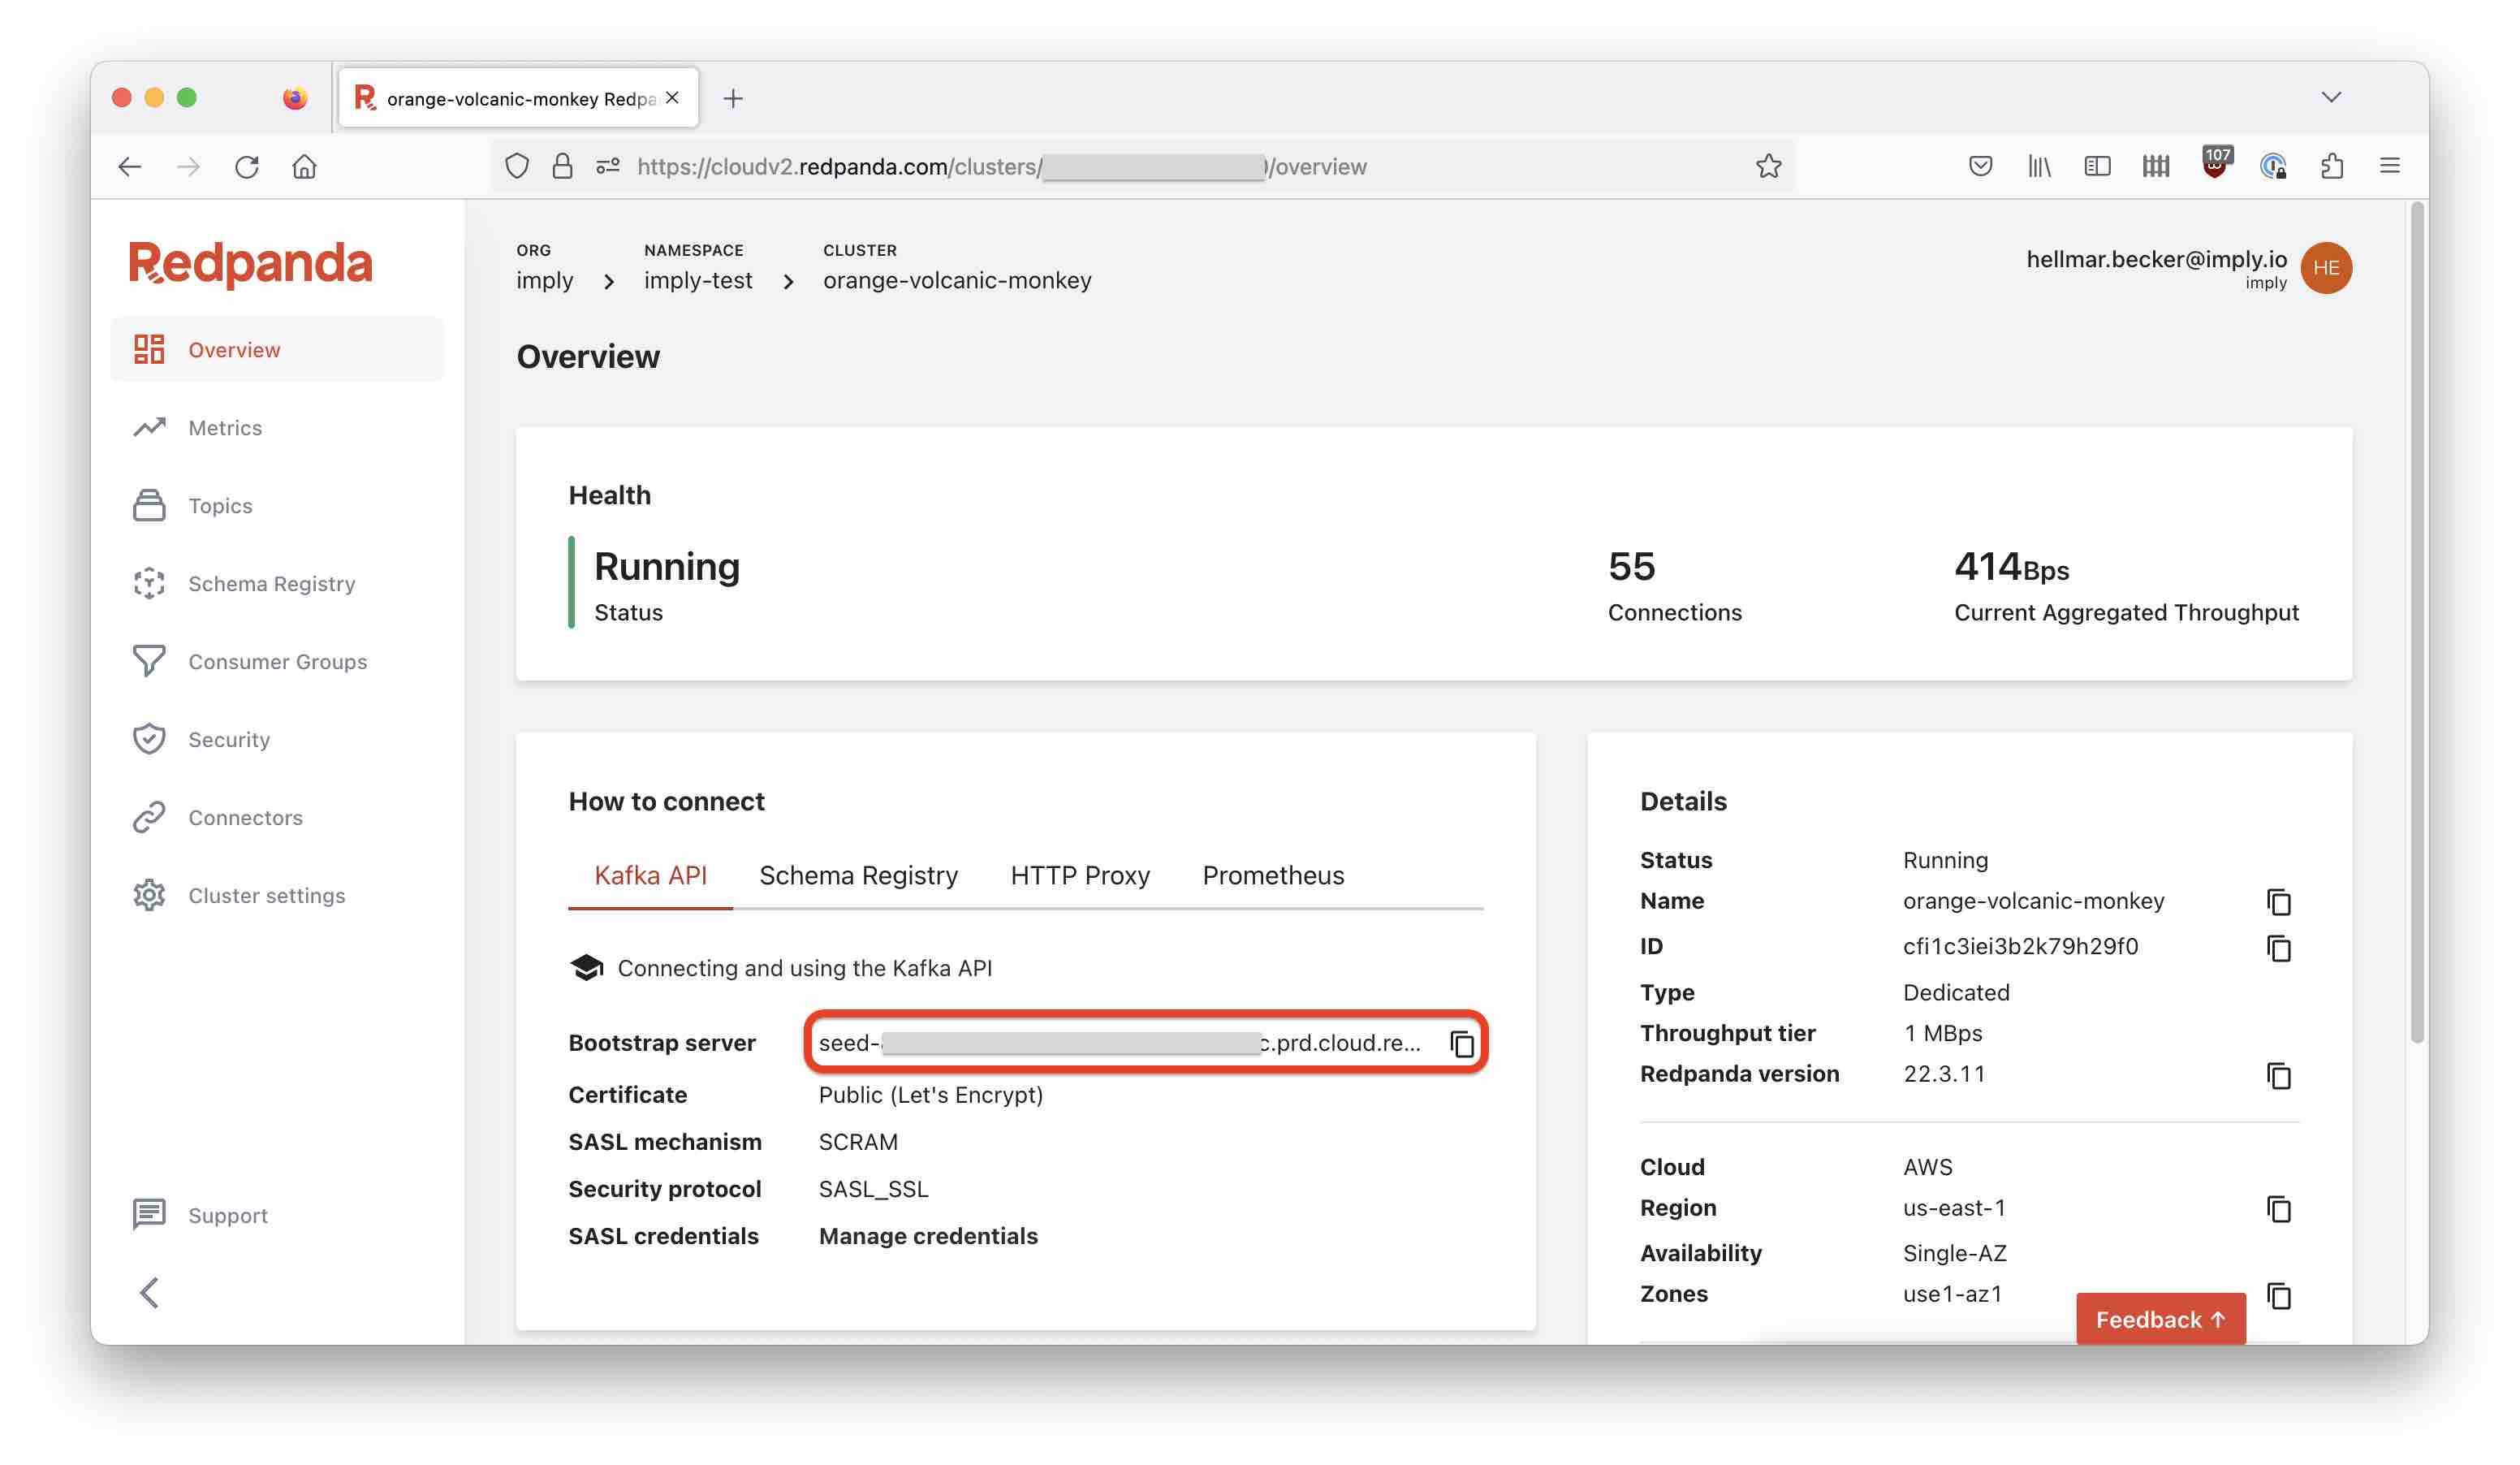
Check out the data generator repository, and using the bootstrap address, and the username and password you just configured, start the data generator like so:
python3 main.py \
  --security-protocol SASL_SSL \
  --sasl-mechanism SCRAM-SHA-512 \
  --username '<Redpanda username from above>' \
  --password '<Redpanda password>' \
  --host <Redpanda bootstrap server> \
  --port 9092 \
  --topic-name pizza \
  --nr-messages 0 \
  --max-waiting-time 0
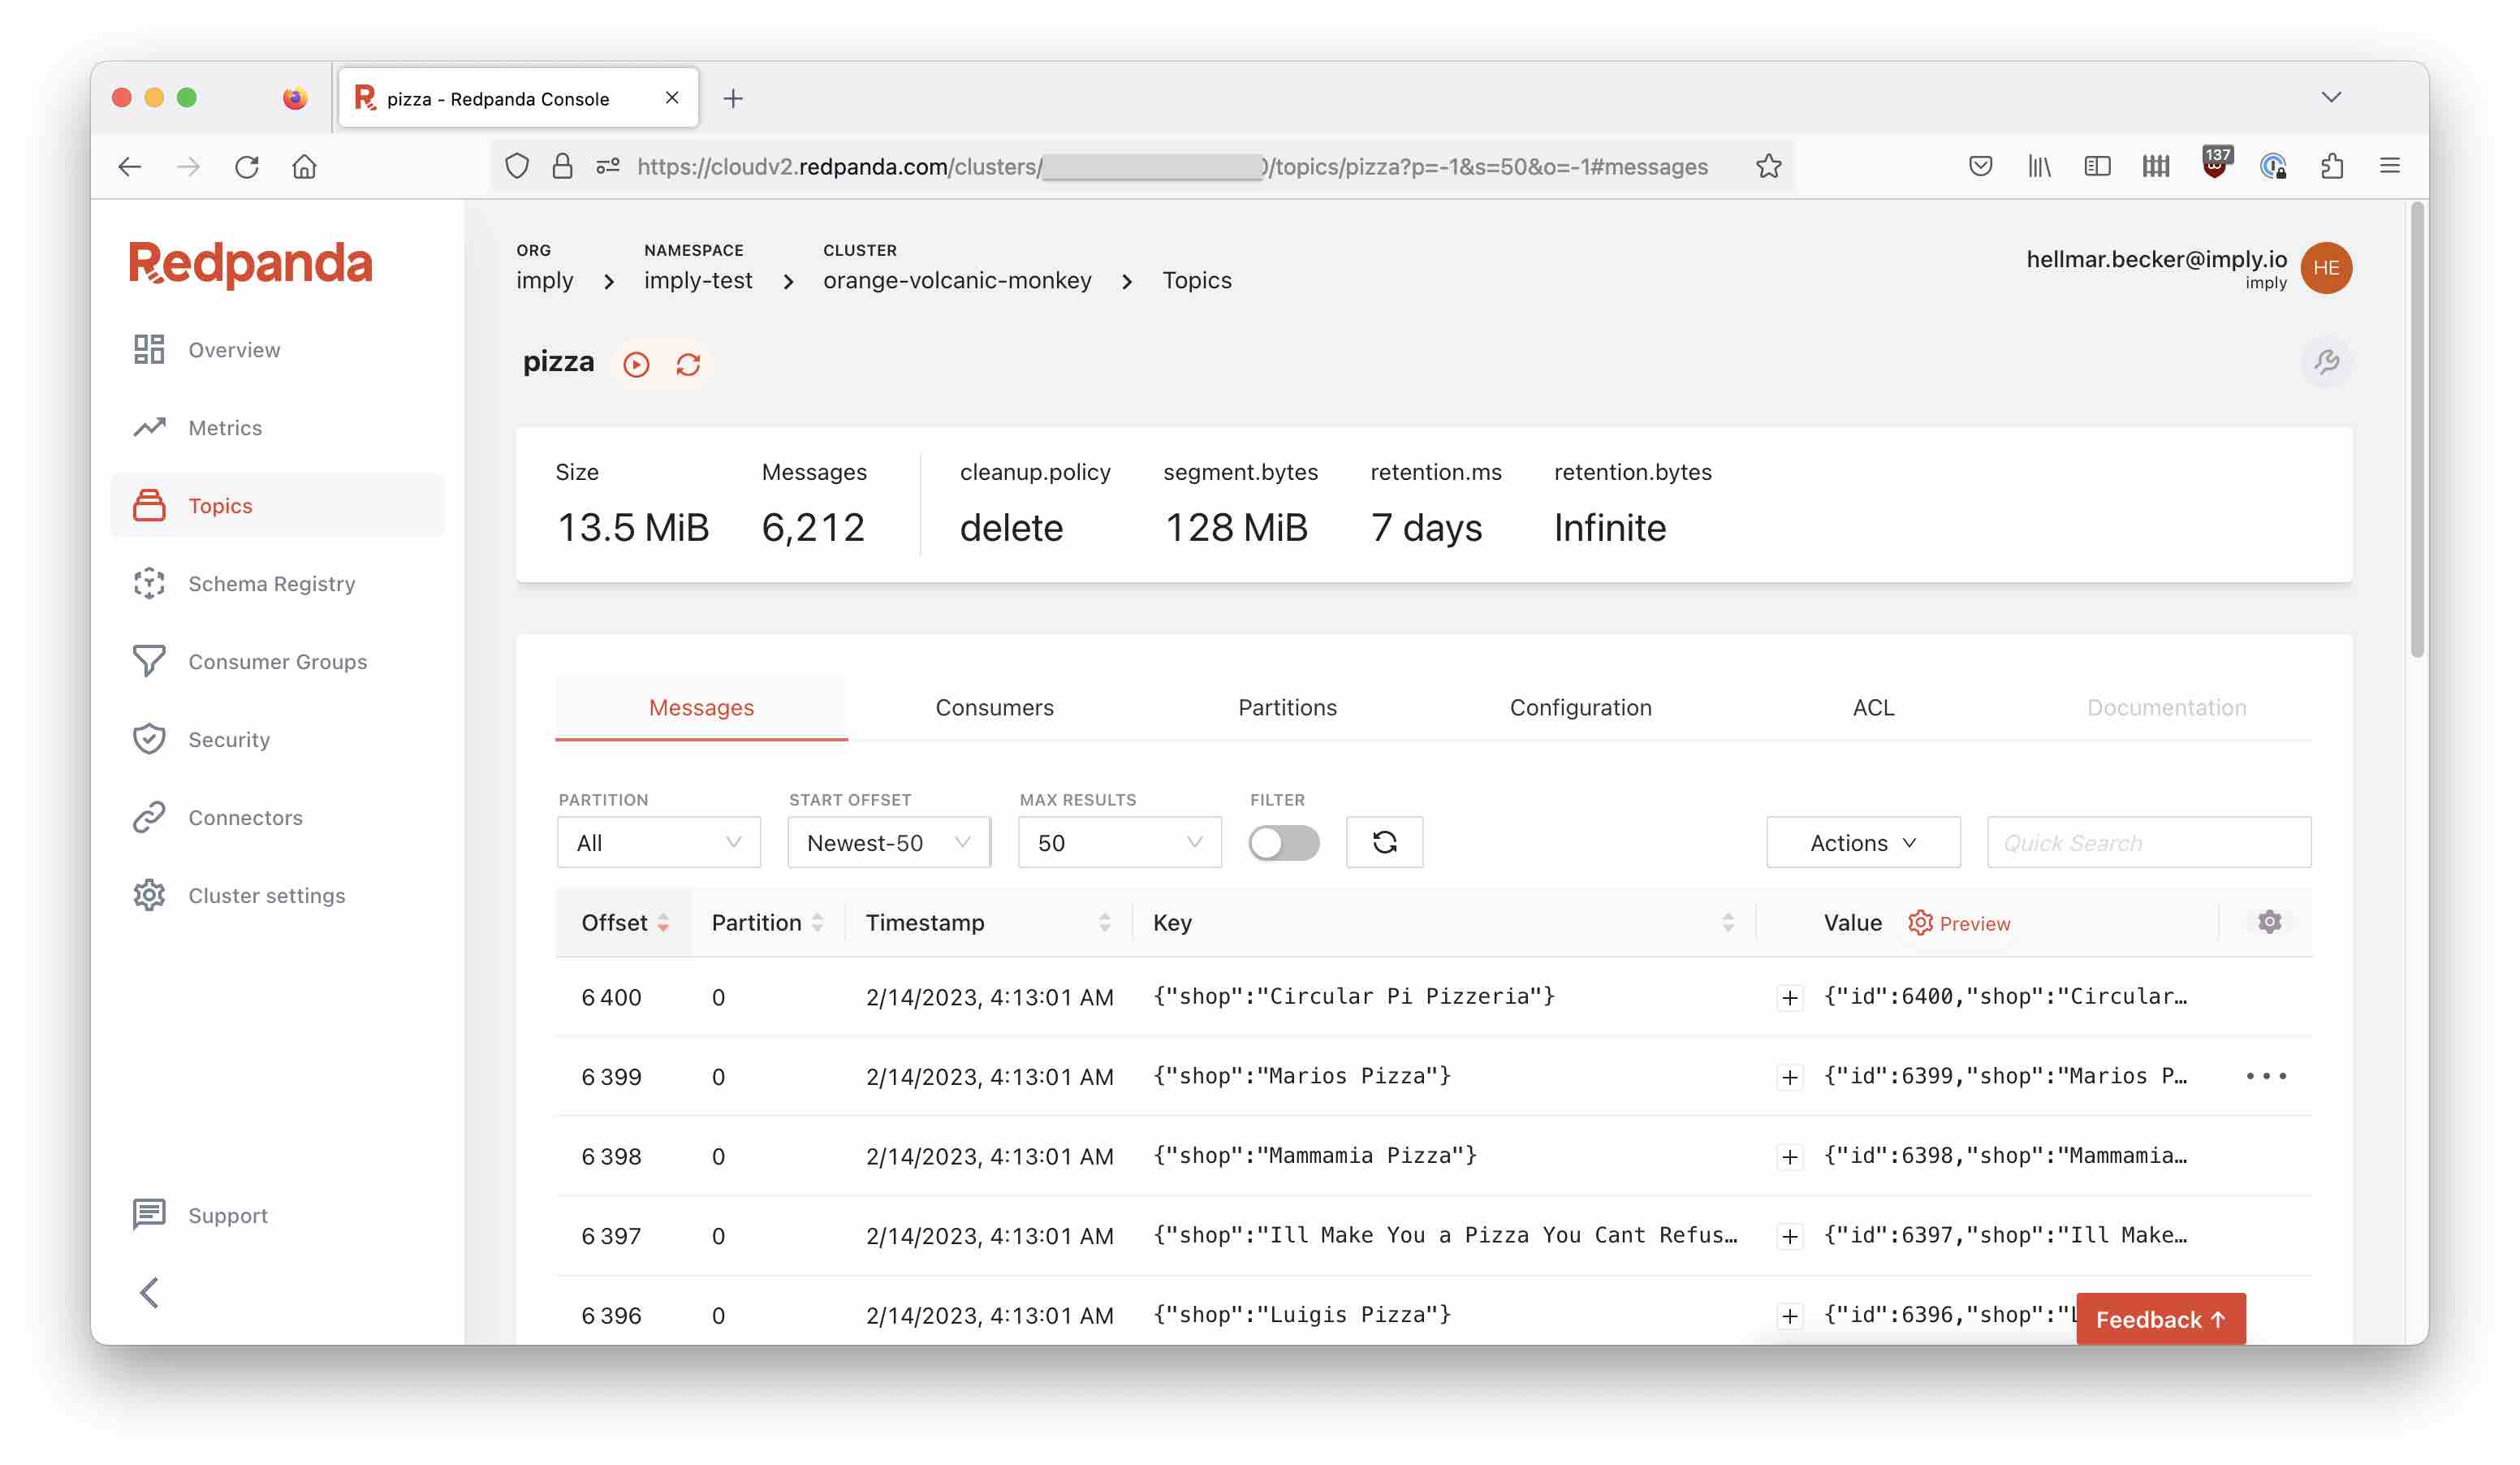
After a moment, you can see the incoming messages in the Redpanda console too:
Setting up Imply Polaris
Create an API key
Follow the documentation to create an API key. API authentication is HTTP Basic authentication, where the API key stands in place of the username and the password is empty. I am going to use curl in this tutorial to access the API, but of course you can also use a tool like Postman.
For convenience, I assume that the API key and URL are in environment variables:
BASEURLis the API base URL, which generally looks like this:https://ORGANIZATION_NAME.REGION.CLOUD_PROVIDER.api.imply.io/APIKEYis the API key.
Hence the general scheme of an API call will be:
curl -X POST ${BASEURL}/... endpoint .../ -u ${APIKEY}: -H "Content-Type: application/json" -d'{ ... }'
with a JSON payload for POST and PUT requests.
If you forget to add the Content-Type header, you will generally get a 415 Unsupported media type error. Don’t forget to add the Content-Type.
Create a Kafka Pull connection
Create a connection with the new type kafka. In the first step, only supply the server detail.
curl -X POST ${BASEURL}/v2/connections/ -u ${APIKEY}: -H "Content-Type: application/json" -d'{
  "type": "kafka",
  "name": "pizza_connection",
  "bootstrapServers": "<Redpanda bootstrap server>:9092",
  "topicName": "pizza"
}'
After that, add credentials to the connection:
curl -X PUT ${BASEURL}/v2/connections/pizza_connection/secrets/ -u ${APIKEY}: -H "Content-Type: application/json" -d'{
  "type": "sasl_scram",
  "mechanism": "SCRAM-SHA-512",
  "username": "<Redpanda username>",
  "password": "<Redpanda password>"
}'
You can test the connection
curl -X POST ${BASEURL}/v2/connections/pizza_connection/test/ -u ${APIKEY}: -H "Content-Type: application/json"
Note that this is a POST request without a payload. A 200 status with an empty response means everything is good.
Create a Polaris table
Create a detail table in Polaris. In the GUI, it is also possible to create a table first and add the schema later - here we specify it all in one single call.
curl -X POST ${BASEURL}/v2/tables/ -u ${APIKEY}: -H "Content-Type: application/json" -d'{
    "schema": [
        {
            "name": "__time",
            "dataType": "timestamp"
        },
        {
            "name": "id",
            "dataType": "long"
        },
        {
            "name": "name",
            "dataType": "string"
        },
        {
            "name": "pizzas",
            "dataType": "json"
        },
        {
            "name": "address",
            "dataType": "string"
        },
        {
            "name": "phoneNumber",
            "dataType": "string"
        },
        {
            "name": "shop",
            "dataType": "string"
        }
    ],
    "type": "detail",
    "name": "pizza",
    "version": 0,
    "partitioningGranularity": "day"
}'
The API should respond with a JSON object decribing the new table.
Fire up the ingestion job
To get the ingestion going, create an ingestion job that references the new connection. This one is a bit lengthy because it needs two sets of metadata:
- The
inputSchemaobject describes the fields found in the original data. This is required. mappingsdescribes how input fields are mapped to table columns, and can also include SQL transformations.
curl -X POST ${BASEURL}/v2/jobs/ -u ${APIKEY}: -H "Content-Type: application/json" -d'{

    "type": "streaming",
    "target": {
        "type": "table",
        "tableName": "pizza",
        "intervals": [ "1000/3000" ]
    },
    "desiredExecutionStatus": "running",
    "source": {
        "type": "connection",
        "connectionName": "pizza_connection",
        "formatSettings": {
            "format": "nd-json"
        },
        "inputSchema": [
            {
                "name": "timestamp",
                "dataType": "long"
            },
            {
                "name": "id",
                "dataType": "long"
            },
            {
                "name": "name",
                "dataType": "string"
            },
            {
                "name": "pizzas",
                "dataType": "json"
            },
            {
                "name": "address",
                "dataType": "string"
            },
            {
                "name": "phoneNumber",
                "dataType": "string"
            },
            {
                "name": "shop",
                "dataType": "string"
            }
        ]
    },
    "mappings": [
        {
            "columnName": "__time",
            "expression": "MILLIS_TO_TIMESTAMP(\"timestamp\")"
        },
        {
            "columnName": "id",
            "expression": "\"id\""
        },
        {
            "columnName": "name",
            "expression": "\"name\""
        },
        {
            "columnName": "pizzas",
            "expression": "\"pizzas\""
        },
        {
            "columnName": "address",
            "expression": "\"address\""
        },
        {
            "columnName": "phoneNumber",
            "expression": "\"phoneNumber\""
        },
        {
            "columnName": "shop",
            "expression": "\"shop\""
        }
    ],
    "readFromPoint": "earliest"
}'
This should respond with a summary of the job that has been created.
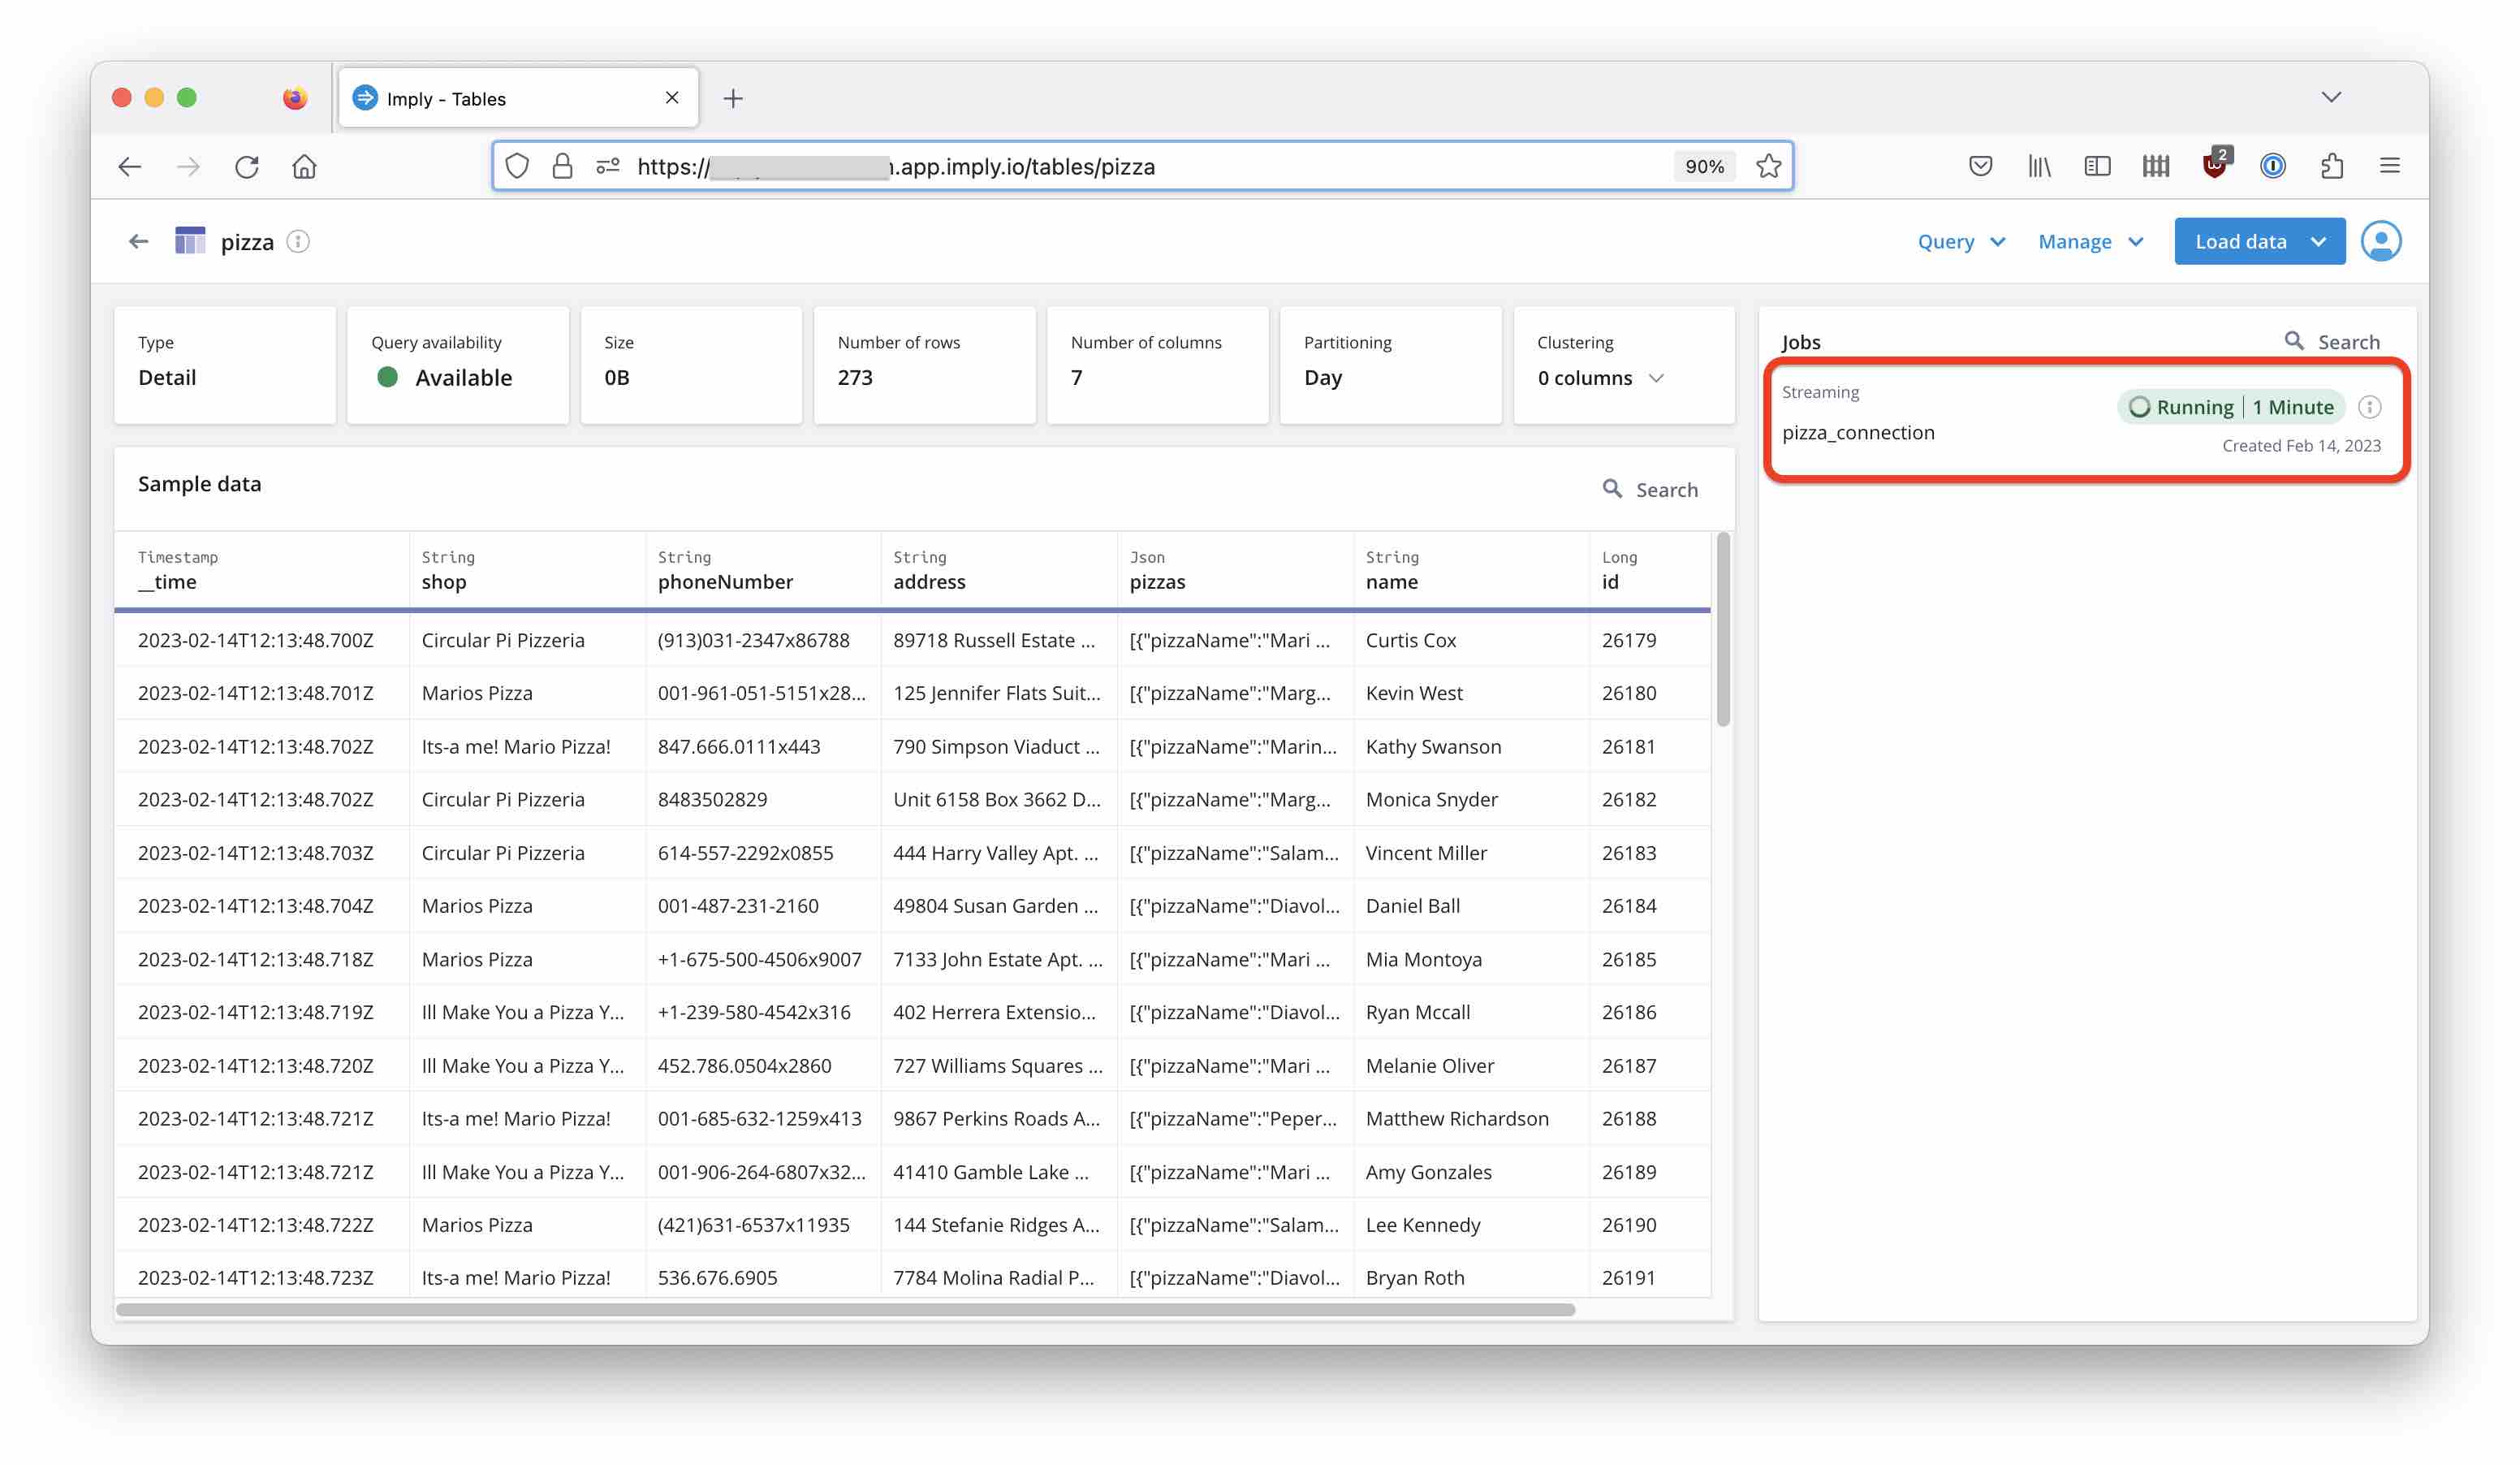
Go to the Imply Polaris GUI and verify that data is coming in:
Conclusion
- With Imply Polaris and Redpanda Cloud, you can set up an end-to-end realtime analytics pipeline using only fully managed services.
- The connection setup can be scripted easily using the Polaris API.
- A GUI integration is coming soon.